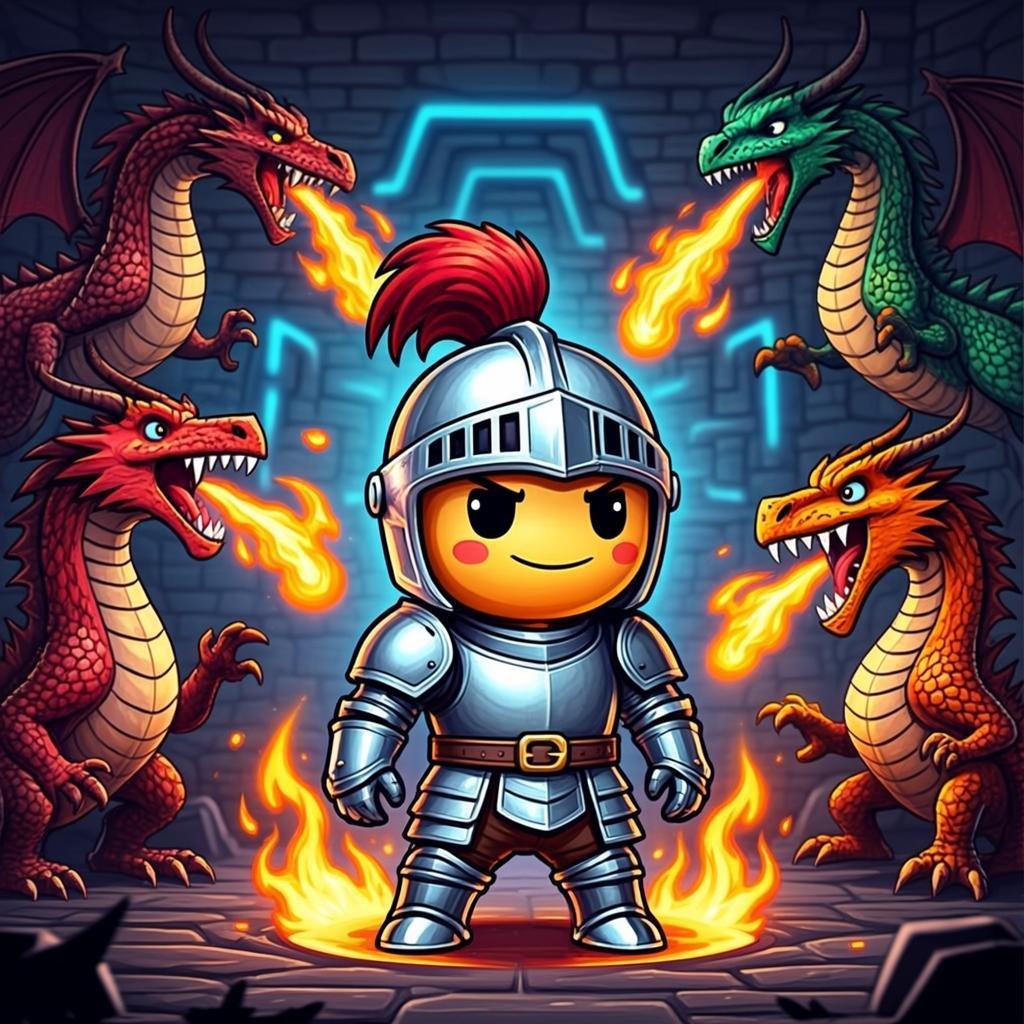
Run Dragon Run Dragons
Enemies, Fire & Game Strategy
Master the four dragon AI personalities, understand fire breath warnings, and learn the strategies to survive at every difficulty level.
Meet the Four Dragons
Run Dragon Run features four unique dragon enemies, each with a distinct artificial intelligence personality that determines how they hunt you through the maze. Understanding each dragon's behavior is the key to surviving higher levels and achieving high scores.
The four dragons are modeled after the classic arcade enemy AI system, reimagined with a medieval knight-versus-dragon theme. Each dragon has a specific targeting algorithm that determines where it moves at any given moment. Learning these patterns transforms the game from a frantic chase into a strategic puzzle.
Blinky — The Red Dragon (The Chaser)
Blinky is the most aggressive and direct of the four dragons. His targeting algorithm is simple but relentless: he always moves toward your knight's current tile in the maze. Wherever you go, Blinky follows.
This makes Blinky the most predictable dragon — you always know he's heading straight for you. But his directness is also what makes him dangerous, especially in narrow corridors where you can't change direction easily.
Cruise Elroy Mode: When most of the orbs in a level have been eaten, Blinky enters a special speed-up mode called "Cruise Elroy" (named after a nickname from the original arcade game). In Elroy mode, Blinky moves significantly faster than normal, making the final stretch of each level particularly tense. On Level 1, Elroy mode activates when 20 dots remain. On Level 3 and above, it activates when 40 dots remain — meaning Blinky speeds up much earlier, giving you less time to finish the level safely.
Strategy against Blinky: Never let Blinky get directly behind you in a straight corridor — he'll catch up. Instead, use corners and intersections to break line of sight. When Blinky enters Elroy mode, prioritize finishing the remaining orbs quickly rather than trying to eat dragons or grab fruit. If Blinky is chasing you and you reach a T-junction, turning into the branch that leads toward a power pellet can turn the tables.
Pinky — The Pink Dragon (The Ambusher)
Pinky is the ambush dragon. Instead of targeting your current position like Blinky, Pinky targets the tile four spaces ahead of your knight in whatever direction you're currently facing. If you're moving right, Pinky aims for the spot four tiles to your right. If you're moving up, Pinky targets four tiles above you.
This "look-ahead" targeting means Pinky tries to cut you off. If you keep moving in a straight line, Pinky will be waiting at the end of it. Pinky's strategy is to get in front of you and force you to reverse direction — ideally into another dragon.
The Up Direction Quirk: Due to a classic quirk in the original targeting algorithm (which Run Dragon Run faithfully reproduces), when you're moving upward, Pinky actually targets a point four tiles up AND two tiles to the left of your position. This means Pinky's ambush point shifts slightly to the upper-left when you're going up, which can be exploited if you know about it.
Strategy against Pinky: The key to defeating Pinky is unpredictability. Don't move in straight lines for too long. At intersections, change direction frequently to confuse Pinky's look-ahead targeting. If you see Pinky heading to a position ahead of you, reverse direction — Pinky will have to recalculate and turn around. You can also use Pinky's predictability to lead him into a power pellet's effective range.
Inky — The Cyan Dragon (The Flanker)
Inky is the most complex and unpredictable dragon. His targeting algorithm uses two reference points: your knight's position and Blinky's position. The calculation works as follows:
1. First, Inky finds the tile two spaces ahead of your knight (similar to Pinky, but only two tiles ahead instead of four). 2. Then, Inky draws a vector from Blinky's current position to that tile two spaces ahead of you. 3. Finally, Inky doubles that vector — placing his target tile on the opposite side of the two-ahead point from Blinky.
The result is that Inky flanks you from the side that Blinky is NOT on. If Blinky is chasing you from the left, Inky will attack from the right. If Blinky is above you, Inky comes from below. This makes Inky the dragon most likely to trap you between two attackers.
Inky's dependence on Blinky: Because Inky's target depends on Blinky's position, Inky's behavior changes when Blinky enters Elroy mode or when Blinky is in the ghost house. When Blinky is far away, Inky's target is more scattered and less precise. When Blinky is close, Inky becomes a precise flanking threat.
Strategy against Inky: Always be aware of where Blinky is — Inky's position is predictable once you know Blinky's location. If Blinky is directly behind you, expect Inky to approach from the front or sides. The safest approach is to keep moving and avoid getting cornered between Blinky and Inky. Use the maze's tunnel passages to escape when both are converging on you.
Clyde — The Orange Dragon (The Shy One)
Clyde is the paradox dragon. His behavior is the opposite of what you'd expect: he chases you when you're far away but retreats to his corner when you get close.
Specifically, Clyde calculates the distance to your knight. If the distance is greater than 8 tiles, Clyde targets your current position (like Blinky). If the distance is less than 8 tiles, Clyde abandons the chase and heads to his scatter corner (the bottom-left of the maze) — even if he was just about to catch you.
This means Clyde is the least dangerous dragon when nearby. You can actually use Clyde's shyness to your advantage: if you stay close to him, he'll keep running away to his corner, effectively removing him as a threat temporarily.
Strategy against Clyde: Clyde is the easiest dragon to manage. When you see Clyde approaching, don't panic — just move toward him and he'll retreat. You can even use Clyde as a "shield" of sorts by staying near him, since he'll flee to his corner and leave you alone. Save Clyde for last when eating dragons in frightened mode, since he's the least likely to be in a dangerous position.
Scatter Mode vs Chase Mode
All four dragons don't hunt you continuously. They alternate between two modes on a fixed timer:
Scatter Mode: Each dragon retreats to its assigned corner of the maze. Blinky goes to the top-right, Pinky to the top-left, Inky to the bottom-right, and Clyde to the bottom-left. During scatter mode, the dragons pose minimal threat — they're heading away from you, not toward you.
Chase Mode: Each dragon switches to its unique targeting algorithm and actively hunts you. This is when the dragons are dangerous.
The timer for these switches varies by level: - Level 1: 7 seconds scatter → 20 seconds chase → 7 seconds scatter → 20 seconds chase → 5 seconds scatter → 20 seconds chase → 5 seconds scatter → permanent chase - Level 4+: The final scatter phases are reduced to 0 seconds, meaning the dragons enter permanent chase mode after the second scatter phase - Level 6+: Only two scatter phases before permanent chase
When a mode switch occurs, all dragons reverse their current direction. This direction reversal is a visual cue you can watch for — if you see all four dragons suddenly turn around, a mode switch just happened.
Fire Breath — The Warning System
In Run Dragon Run, dragons breathe flickering fire when they are in chase mode. The fire breath is a stream of orange, yellow, and red flame particles that extends from the dragon's mouth in its direction of movement.
Fire does not damage you directly. You can run through fire without losing a life. The fire breath is purely a visual indicator — a warning system that tells you whether each dragon is actively hunting you or retreating.
When a dragon is breathing fire: It is in chase mode and actively moving toward its target tile. This dragon is a threat — it's coming for you.
When a dragon is NOT breathing fire: It is in scatter mode and heading to its corner. This dragon is not a threat — it's moving away from you.
This visual cue is extremely valuable for strategic play. By watching which dragons have fire and which don't, you can identify which parts of the maze are safe and which are dangerous. If only Clyde is breathing fire (and you know Clyde retreats when close), you can safely approach him. If all four dragons are breathing fire simultaneously, it's time to head for a power pellet.
The fire breath also flickers naturally, with the flame length and position oscillating. This isn't just decorative — it makes the fire more visible at a glance, helping you spot dragons that have just entered chase mode from across the maze.
How to Avoid the Dragons
Surviving the dragons requires a combination of pattern recognition, maze knowledge, and strategic thinking. Here are the key strategies:
1. Learn the maze layout: The maze has four tunnels on the sides that wrap around — if you exit the left side, you appear on the right side. These tunnels are your escape routes. When being chased, heading toward a tunnel can instantly put distance between you and the dragons (they slow down in the tunnel area).
2. Watch the fire breath: Dragons without fire are in scatter mode and heading to their corners. Use these windows to collect orbs in dangerous areas. When fire reappears, retreat to safer territory.
3. Use power pellets strategically: Don't eat a power pellet the moment you see one. Save it for when dragons are nearby — ideally when 2-3 dragons are close enough to eat. Each dragon eaten in a single frightened phase gives escalating points (200, 400, 800, 1,600).
4. Break line of sight at intersections: At T-junctions and four-way intersections, turning perpendicular to the dragon's approach direction can break their pursuit briefly. The AI recalculates at each intersection, giving you a fraction of a second of advantage.
5. Exploit Clyde's shyness: Stay near Clyde when he approaches — he'll retreat to his corner. This effectively removes one dragon from the threat board.
6. Use the ghost house to your advantage: When dragons are released from the ghost house at the start of each life, there's a brief window where only Blinky is on the board. Use this time to clear orbs near the center of the maze.
7. Don't panic in tunnels: When you enter a tunnel, you move at normal speed but the dragons slow down. If a dragon is chasing you into a tunnel, you'll gain distance on the other side.
Do Dragons Behave Differently at Different Levels?
Yes — the dragon AI doesn't change, but the parameters that govern their behavior shift dramatically as you progress through levels:
Speed: On Level 1, dragons move at 5.5 tiles per second. By Level 10, they move at 6.38 tiles per second (16% faster). By Level 21, they move at 7.59 tiles per second (38% faster). The knight also speeds up, but at a slower rate — meaning the dragons gain ground on you at higher levels.
Frightened Duration: When you eat a power pellet, dragons turn blue (frightened) and can be eaten. The duration of frightened mode decreases each level: - Level 1: 13 seconds - Level 5: 9 seconds - Level 9: 8 seconds - Level 21+: 0 seconds — power pellets stop working entirely
At Level 21 and beyond, eating a power pellet gives you 50 points but does NOT turn the dragons blue. The game becomes pure survival — you can no longer eat dragons, only avoid them.
Release Timing: On each new life, the dragons are released from the ghost house on a staggered timer. Pinky is released after 1 second, Inky after 4 seconds, and Clyde after 8 seconds. Blinky is always already outside the house. These timers are consistent across all levels.
Cruise Elroy Threshold: Blinky enters Elroy mode (speed-up) based on how many dots remain. The threshold varies by level: - Level 1: 20 dots remaining - Level 2: 30 dots remaining - Level 3+: 40 dots remaining
This means on Level 3+, Blinky speeds up when 40 dots are still on the board — making the final stretch much longer and more dangerous.
Scatter Duration: The scatter phases (safety periods) get shorter on higher levels. By Level 6+, there are only two brief scatter phases before the dragons enter permanent chase mode for the rest of the level. The safety windows that exist on Level 1 simply don't exist on Level 10+.
Difficulty Progression Across Levels
Run Dragon Run is designed to get progressively harder. Here's what changes as you advance:
Levels 1-3: Forgiving difficulty. Long scatter phases (7 seconds each), generous frightened duration (13-11 seconds), Elroy mode only activates at 20-30 dots remaining. These levels are designed for learning the dragon patterns and maze layout.
Levels 4-5: Moderate difficulty. Scatter phases start shrinking, frightened duration drops to 9 seconds, and Elroy mode activates at 40 dots. The dragons are noticeably faster. Players need to start using power pellets strategically.
Levels 6-10: Hard difficulty. Only two short scatter phases before permanent chase. Frightened duration drops to 8 seconds. Dragon speed is 18-26% faster than Level 1. The final scatter phases disappear entirely. Survival requires constant movement and tunnel usage.
Levels 11-20: Very hard difficulty. Frightened duration fluctuates between 8-12 seconds (the classic arcade table has non-linear values). Dragon speed is 28-38% faster. Elroy mode activates early. Only experienced players who have memorized dragon patterns survive consistently.
Levels 21+: Nightmare difficulty. Power pellets stop working — dragons never turn blue. Permanent chase mode. Dragon speed is 38%+ faster than Level 1. Elroy mode at 40 dots. This is pure survival: eat orbs, avoid dragons, use tunnels. No power pellets to save you. Only the most skilled players reach this far.
The wall colors also change each level, cycling through 15 unique color schemes: blue, red, orange, pink, purple, green, gold, teal, orange-red, dodger blue, deep pink, lime green, dark orange, blue violet, and crimson. This visual variety helps you track which level you're on at a glance.
Dragon Quick Reference
Blinky (Red)
Direct chaser. Targets your position. Speeds up (Elroy mode) at end of level.
Pinky (Pink)
Ambusher. Targets 4 tiles ahead. Cuts off your path.
Inky (Cyan)
Flanker. Uses Blinky's position to attack from unexpected angles.
Clyde (Orange)
Shy. Chases when far, retreats when close. Easiest to manage.
Fire Breath Legend
Fire = Dragon is in CHASE mode — actively hunting you
No fire = Dragon is in SCATTER mode — retreating to corner